Understanding the Challenge of Tough Chicken Breast
Why Chicken Breast Tends to Become Tough
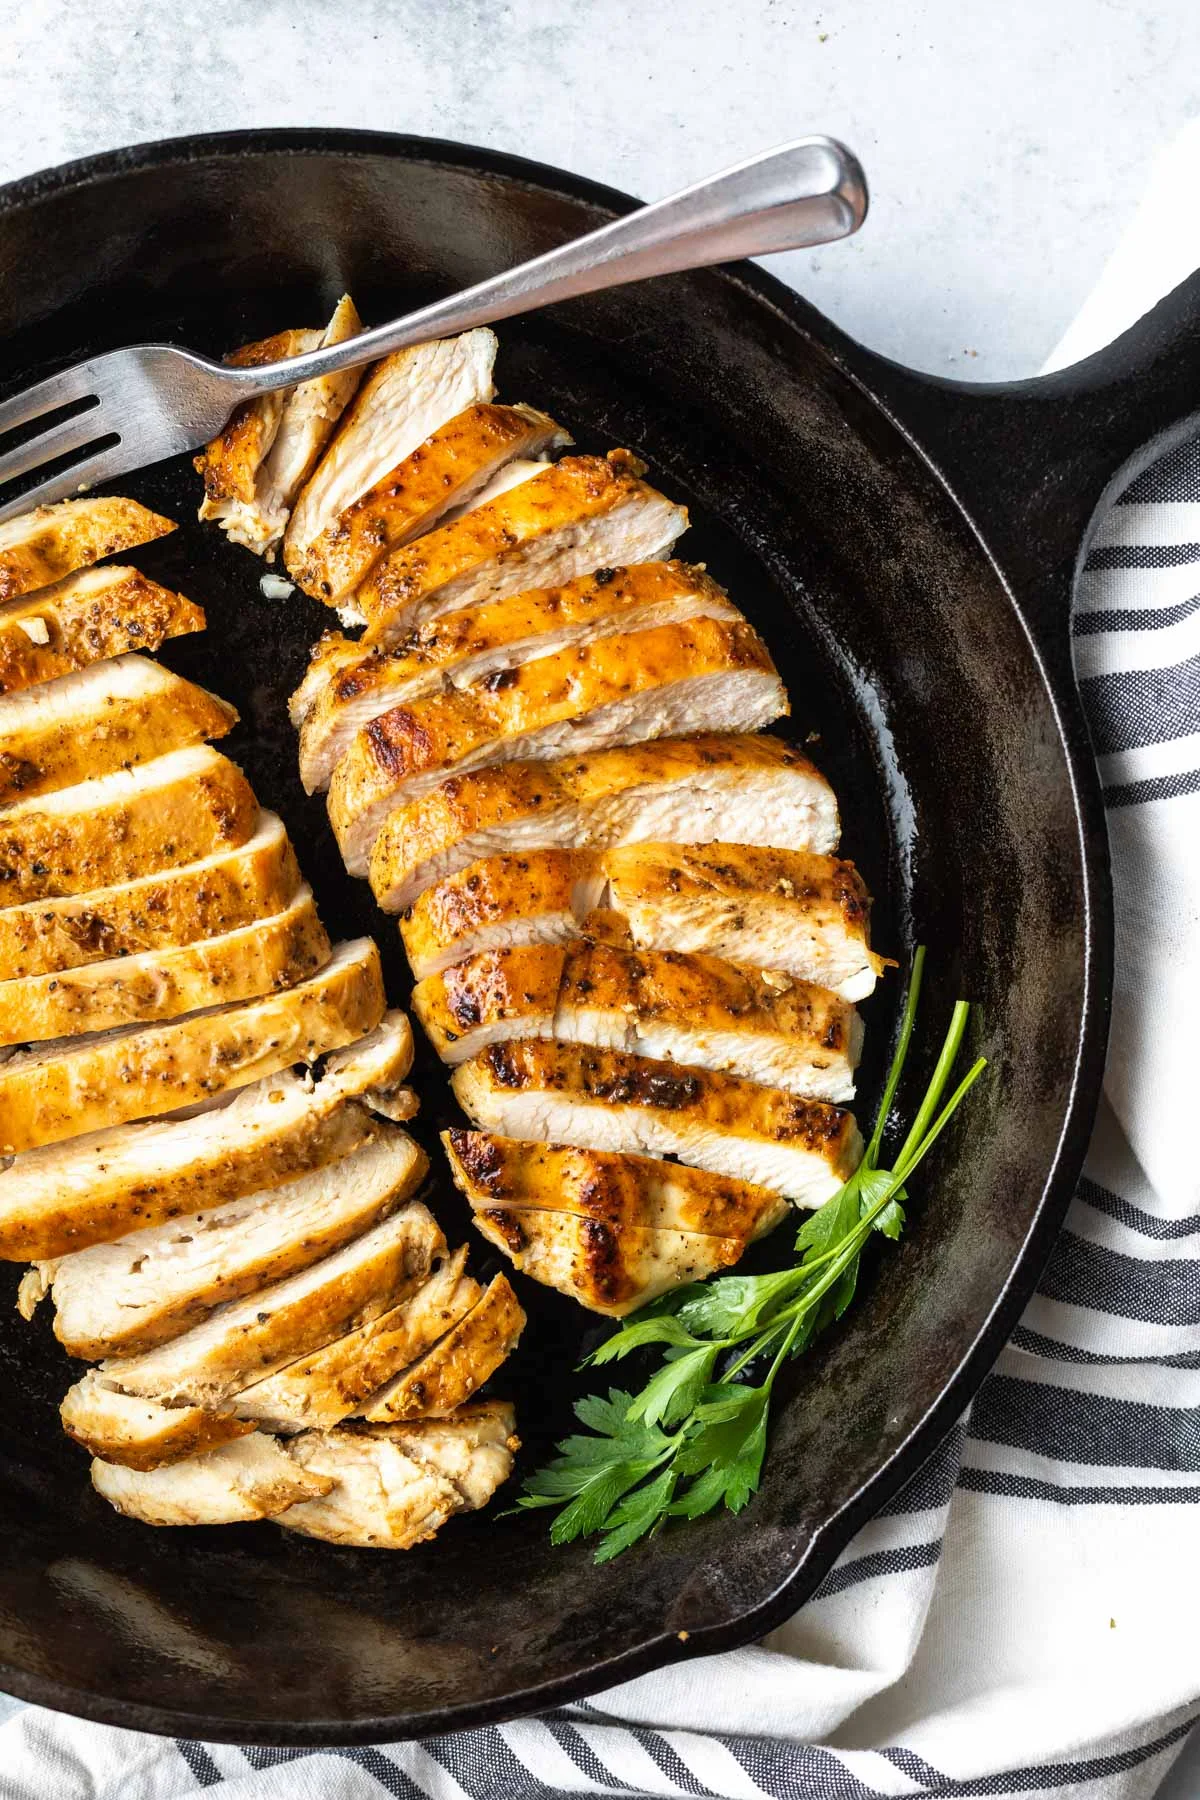
Chicken breast is a popular choice for many home cooks because it’s lean and versatile. However, it tends to become tough and dry quickly when pan-seared. This happens primarily because chicken breast contains very little fat and connective tissue compared to other cuts. When exposed to high heat for too long, the muscle fibers contract and lose moisture rapidly. The result is meat that feels rubbery and hard rather than tender and juicy.
Common Mistakes in Pan-Searing Chicken
Many cooks fall into the trap of using excessively high heat or cooking chicken breast for too long without checking for doneness. Another frequent error is not preparing the chicken properly beforehand, such as skipping marinating or tenderizing. Additionally, not allowing the meat to rest once it’s off the heat can cause juices to escape immediately when cut, worsening dryness and toughness.
Choosing the Right Chicken Breast
Fresh vs. Frozen: What Makes a Difference?
The quality and freshness of chicken breast significantly affect the cooking outcome. Fresh chicken breasts tend to be moister and more flavorful. Frozen chicken breasts, especially if not properly thawed, might lose some natural juices during the freezing process, which can lead to dryness after cooking. When using frozen chicken, it’s essential to thaw it slowly in the refrigerator rather than rushing the process in warm water or a microwave, which can partially cook the meat and make it uneven in texture.
Thickness and Size Considerations
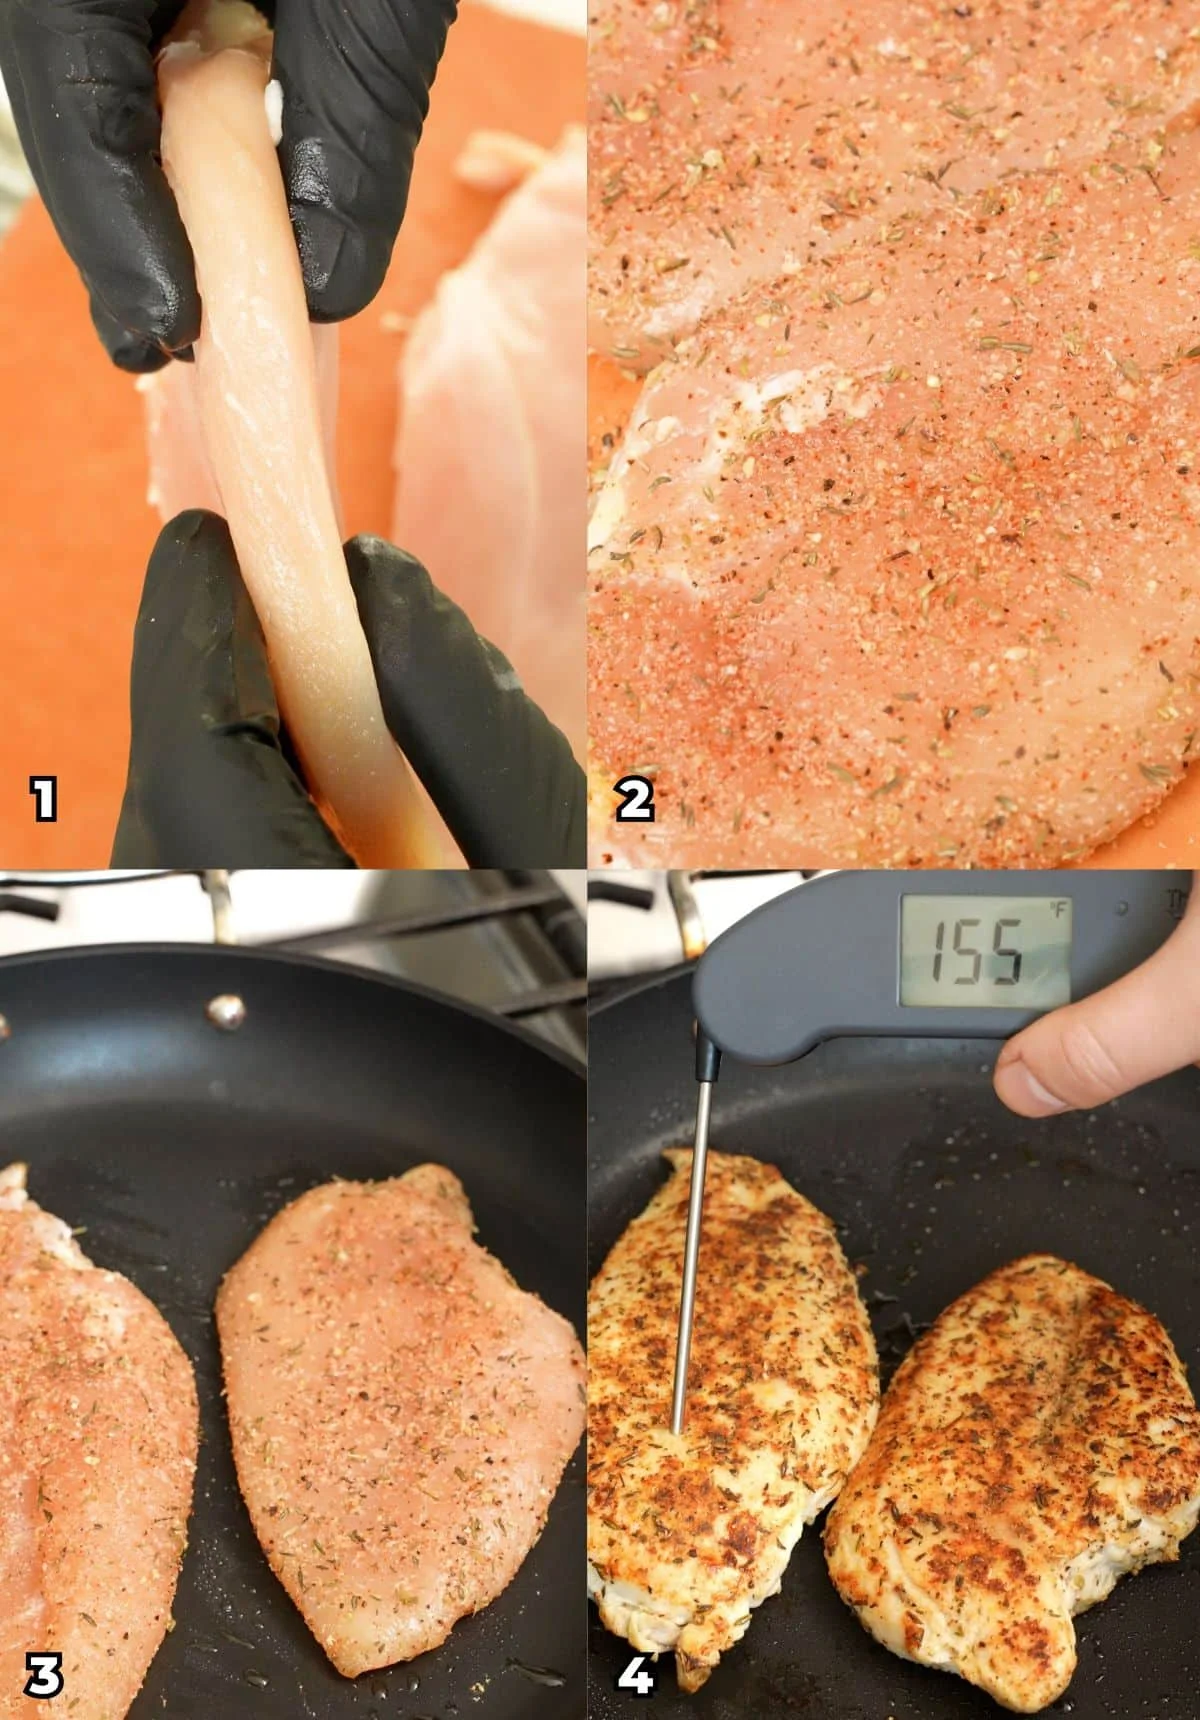
Chicken breasts come in various sizes and thicknesses, and this impacts cooking time and tenderness. Very thick breasts risk overcooking the outer layers before the center is done, while very thin pieces can dry out quickly. Ideally, you want chicken breasts of uniform thickness or you can butterfly or pound them to achieve an even surface, ensuring they cook consistently and stay tender throughout.
Preparation Techniques to Soften Chicken Breast
Marinating: Ingredients and Timing
Marinating chicken breast before pan-searing adds flavor and helps keep it moist. Ingredients like yogurt, lemon juice, or vinegar work as mild acids that break down muscle fibers gently, tenderizing the meat. Including oil helps retain moisture and prevent sticking during cooking. A marinade time of 30 minutes to 2 hours is generally sufficient; too long, however, especially with acidic marinades, can cause the texture to become mushy.
Brining for Moisture Retention
Brining is another effective method to enhance juiciness. By soaking chicken breast in a saltwater solution, the meat absorbs moisture and salt, which improves its ability to retain juices while cooking. A simple brine with water and salt, sometimes accompanied by sugar or herbs, applied for 15 to 30 minutes is ideal. Over-brining can make the meat too salty or overly soft.
Proper Tenderizing Methods
Tenderizing chicken breast physically, such as by pounding with a meat mallet, breaks down tough fibers and evens out thickness. This method not only promotes faster and more uniform cooking but also contributes to a more tender bite. Avoid excessive force which can damage the meat’s structure. Another technique is scoring the surface lightly, which helps marinades penetrate deeper and heat distribute evenly.
Mastering the Pan-Searing Process
Ideal Heat Levels and Pan Types
Achieving a perfect sear requires a balance in heat. Medium-high heat is optimal; too hot and the surface burns before the inside cooks, too low and the meat stews rather than sears. Using a heavy-bottomed pan, such as cast iron or stainless steel, ensures even heat distribution. Avoid non-stick pans if you want a crispy crust, as they often don’t tolerate high temperatures well.
When and How to Flip the Chicken
Patience is key when pan-searing chicken breast. After placing the chicken in the pan, let it cook undisturbed for several minutes until a nice golden crust forms. Trying to flip too early breaks the crust and can cause sticking. Once the chicken releases easily from the pan, flip it over carefully to cook the other side. Typically, cooking each side for 4-6 minutes suffices, but adjust timing based on thickness.
Using Oil and Butter for the Perfect Sear
Using a combination of oil and butter enhances flavor and promotes browning. Start with an oil that has a high smoke point, such as canola or grapeseed oil, to prevent burning. Adding butter near the end of cooking adds richness and helps develop a flavorful crust. Basting the chicken with the melted butter can also improve moisture and taste.
Post-Searing Tips for Juicy Chicken
Resting the Meat: Why It Matters
Resting chicken breast after pan-searing is a crucial step often overlooked. Once removed from the heat, allow the meat to rest for 5 to 10 minutes. During this time, the internal juices redistribute evenly throughout the meat instead of spilling out immediately when cut. This results in a noticeably juicier and more tender final dish.
Covering vs. Uncovered Cooling Techniques
While resting, loosely covering the chicken with foil helps retain warmth without trapping steam, which can soften the crust. Avoid wrapping tightly as it will cause condensation and result in soggy texture. Letting the chicken rest uncovered may lead to faster cooling but keeps the seared crust crisp. Choose the method based on your preference for crust texture and serving timing.
Creative Variations to Enhance Texture
Incorporating Herbs and Aromatics
Adding herbs and aromatics during cooking or resting can elevate both flavor and perceived tenderness. Fresh herbs like rosemary, thyme, or sage impart subtle fragrance, while garlic or shallots lightly sautéed with the chicken bring depth. These ingredients can be added to the pan during the final minutes or included in marinades for an extra tenderizing effect.
Using Compound Butters and Sauces
Compound butters made with herbs, citrus zest, or spices melt beautifully over hot chicken, adding moisture and richness without overpowering natural flavors. Similarly, pan sauces created by deglazing the pan with wine, broth, or lemon juice lift the dish and contribute to a moist texture. These finishing touches encourage juicy bites and complement the perfectly seared crust.
Conclusion: Key Takeaways for Perfect Pan-Seared Chicken Breast
Preventing tough chicken breast when pan-searing requires attention to detail before, during, and after cooking. Selecting fresh, uniformly sized breasts and applying techniques like marinating, brining, or tenderizing lay a solid foundation for tenderness. Mastering the heat level, timing your flips carefully, and using the right fats ensures a beautiful sear without drying out the meat. Finally, resting the chicken and adding flavorful finishing touches make each bite juicy and satisfying. With these step-by-step practices, achieving perfectly tender pan-seared chicken breast becomes reliably effortless.