Understanding the Dutch Oven: The Key to Perfect Slow-Cooked Stews
What Makes a Dutch Oven Ideal for Slow Cooking?
A Dutch oven stands out as a premier choice for slow-cooking stews due to its excellent heat retention and even distribution. Unlike thinner pots, its thick walls ensure that heat surrounds your ingredients uniformly, which prevents hot spots and scorching. This consistent temperature is essential for breaking down tougher cuts of meat and melding flavors over time, resulting in tender, succulent stews. The heavy lid traps steam inside, creating a moist environment that keeps the stew juicy and rich.
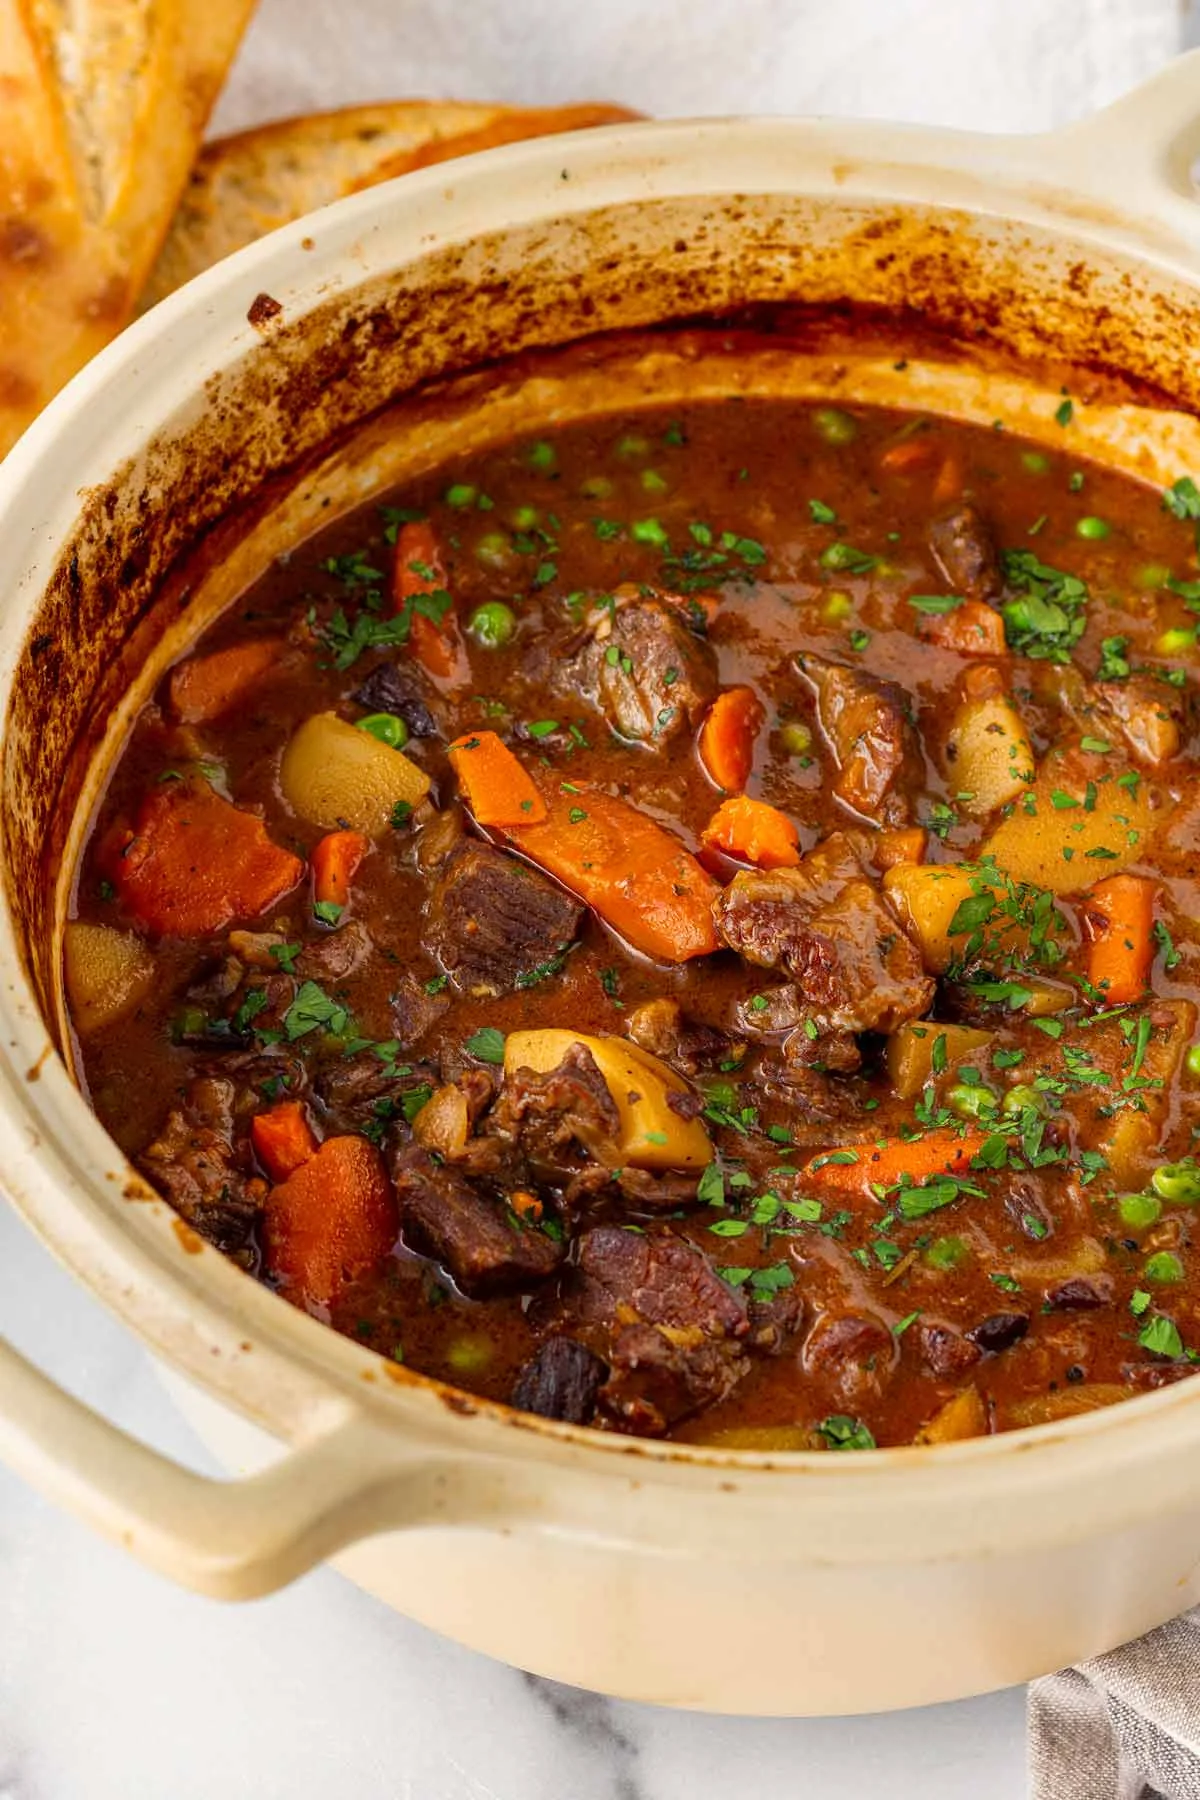
Materials and Designs: Choosing the Best Dutch Oven
When selecting a Dutch oven for slow-cooking, several materials come into play. Traditional cast iron is favored for its durability and heat retention, while enameled cast iron offers the same benefits with easier maintenance and no need for seasoning. Consider the size and shape as well—round Dutch ovens are versatile, but oval ones can accommodate larger cuts of meat. Additionally, look for a tight-fitting lid which is crucial for moisture retention. Choosing the right type depends on your cooking style and long-term preferences.
Preparing Your Dutch Oven for Stewing Success
Seasoning and Maintenance Tips to Enhance Flavor
Before using a traditional cast iron Dutch oven, seasoning plays a vital role in providing a natural non-stick surface and preventing rust. To season, apply a thin layer of vegetable oil all over the pot, then bake it upside down in the oven at a high temperature for an hour. This process creates a protective coating that improves with each use. For enameled versions, seasoning isn’t necessary, but gentle cleaning to preserve the enamel coating is essential. Proper maintenance ensures your Dutch oven imparts the best flavors over time.
How to Preheat Your Dutch Oven Properly
Preheating your Dutch oven gradually is crucial to avoid thermal shock, which can damage the cookware, especially enameled variants. Start by placing the pot in a cold oven or placing it on low heat on the stovetop and slowly increase the temperature. This step allows the metal to adjust evenly, preparing the pot to begin cooking your stew. A well-preheated Dutch oven maintains steady heat throughout the cooking process, vital for slow and consistent simmering.
Step-by-Step Guide to Slow-Cooking Stews in a Dutch Oven
Selecting Ingredients for Rich and Tender Results
The choice of ingredients greatly affects the final stew. Opt for tougher cuts of meat like chuck, brisket, or shank, as they become tender and flavorful when cooked slowly. Fresh vegetables such as carrots, potatoes, and onions add natural sweetness and texture. Using homemade broth or stock enhances depth, while avoiding pre-packaged mixes ensures purity of taste. The ingredient quality sets the foundation for a hearty and satisfying stew.
Layering Flavors: The Order of Adding Ingredients
Building flavor in a Dutch oven stew begins with sautéing aromatic vegetables and browning meat to develop rich, caramelized notes. Start by heating oil and cooking onions, garlic, and other aromatics until fragrant, then brown the meat in batches to lock in juices. Next, add liquids such as broth or wine, scraping up browned bits from the bottom to integrate flavor. Vegetables can be added later to prevent overcooking. This sequential layering maximizes depth and complexity in your stew.
Controlling Temperature and Cooking Time for Optimal Tenderness
Maintaining a low and steady temperature is key to achieving tender meat without drying out your stew. Aim for a gentle simmer, not a rolling boil, which can toughen ingredients and reduce moisture. Slow cooking times vary depending on the cut and size of your meat, generally ranging from one and a half to three hours. Regularly check the stew, adjusting heat as necessary, but resist the temptation to rush the process, as slow cooking allows collagen to break down and flavors to fully develop.
Advanced Techniques to Elevate Your Stew
Using Lid Techniques to Retain Moisture and Flavor
The lid on a Dutch oven plays more than a simple covering role; it seals in steam and prevents moisture from escaping, essential for tenderizing ingredients. For added control, you can slightly offset the lid to allow some steam to escape if you want a thicker consistency. Alternatively, covering tightly encourages a moist environment which is perfect for longer cooking sessions. Learning to adjust lid placement based on desired texture can transform your stew’s richness and body.
Incorporating Herbs and Spices for Depth
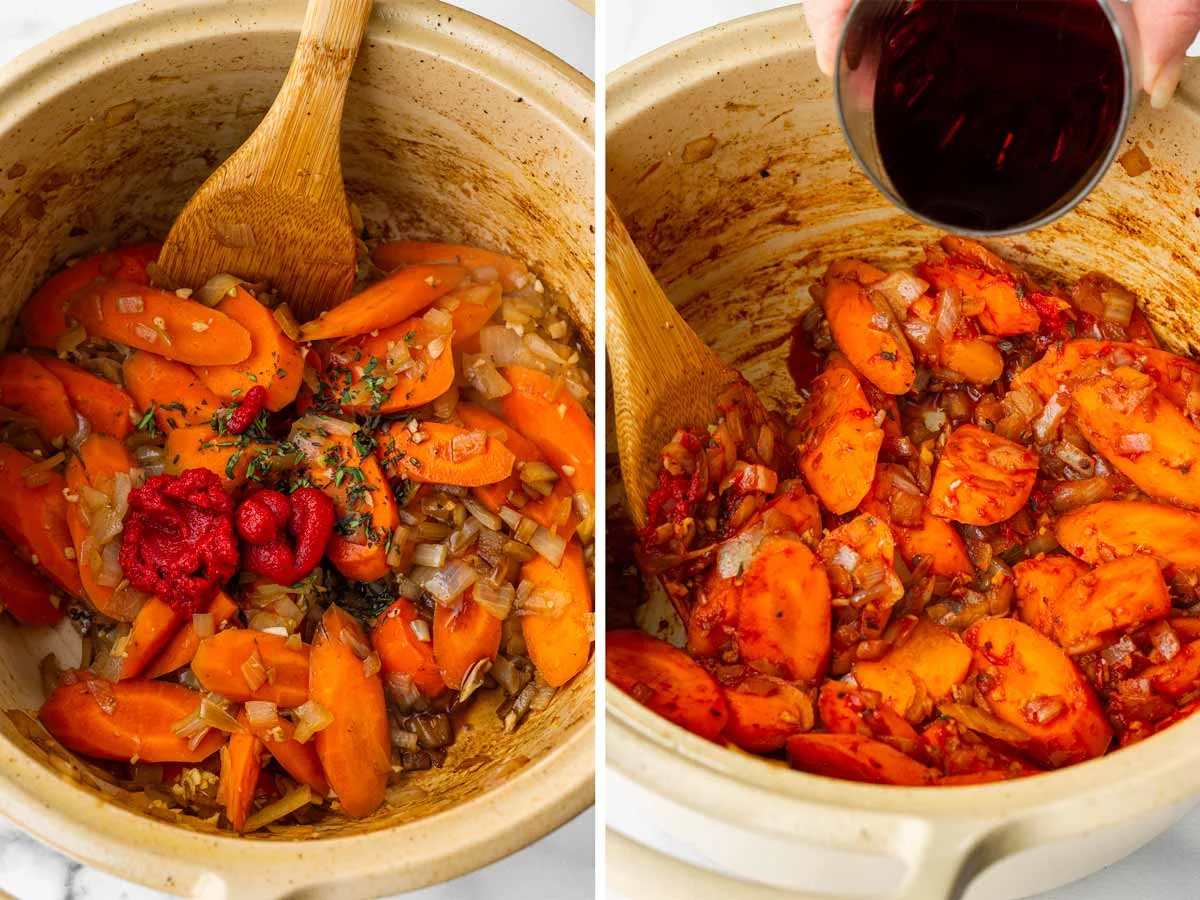
Add herbs and spices thoughtfully to deepen your stew’s flavor profile. Heartier herbs like thyme, rosemary, and bay leaves hold up well during long cooking and infuse the broth with earthy tones. Delicate herbs, such as parsley or basil, work best when added near the end to retain their brightness. Spices like paprika or cumin introduce warmth and complexity without overpowering the dish. Balancing these elements enhances the stew’s character and keeps each bite engaging.
Cleaning and Caring for Your Dutch Oven After Cooking
Best Practices to Preserve Your Cookware’s Longevity
Proper cleaning and maintenance extend the life of your Dutch oven. For cast iron, avoid soap and instead use hot water and a stiff brush to remove food residue. Dry it thoroughly and apply a light coat of oil to prevent rust. Enameled Dutch ovens should be cleaned with mild detergent and non-abrasive sponges to protect the coating. Never put a hot Dutch oven directly into cold water as this can cause cracking. Storing your cookware properly ensures it remains a reliable kitchen companion for years to come.