Introduction to Pan-Searing Steak
Why Pan-Searing Is a Beginner’s Best Technique
Imagine standing in your kitchen, ready to impress yourself with a restaurant-quality steak but unsure where to begin. Pan-searing is often the go-to method for beginners, and for good reason. Unlike grilling or sous-vide, pan-searing requires minimal equipment and offers fast, satisfying results. This technique involves cooking steak over high heat in a skillet, creating a flavorful crust while locking in juices. It’s a straightforward process that builds foundational skills like heat management and timing, setting newcomers up for success in their culinary journey.
Essential Tools and Ingredients
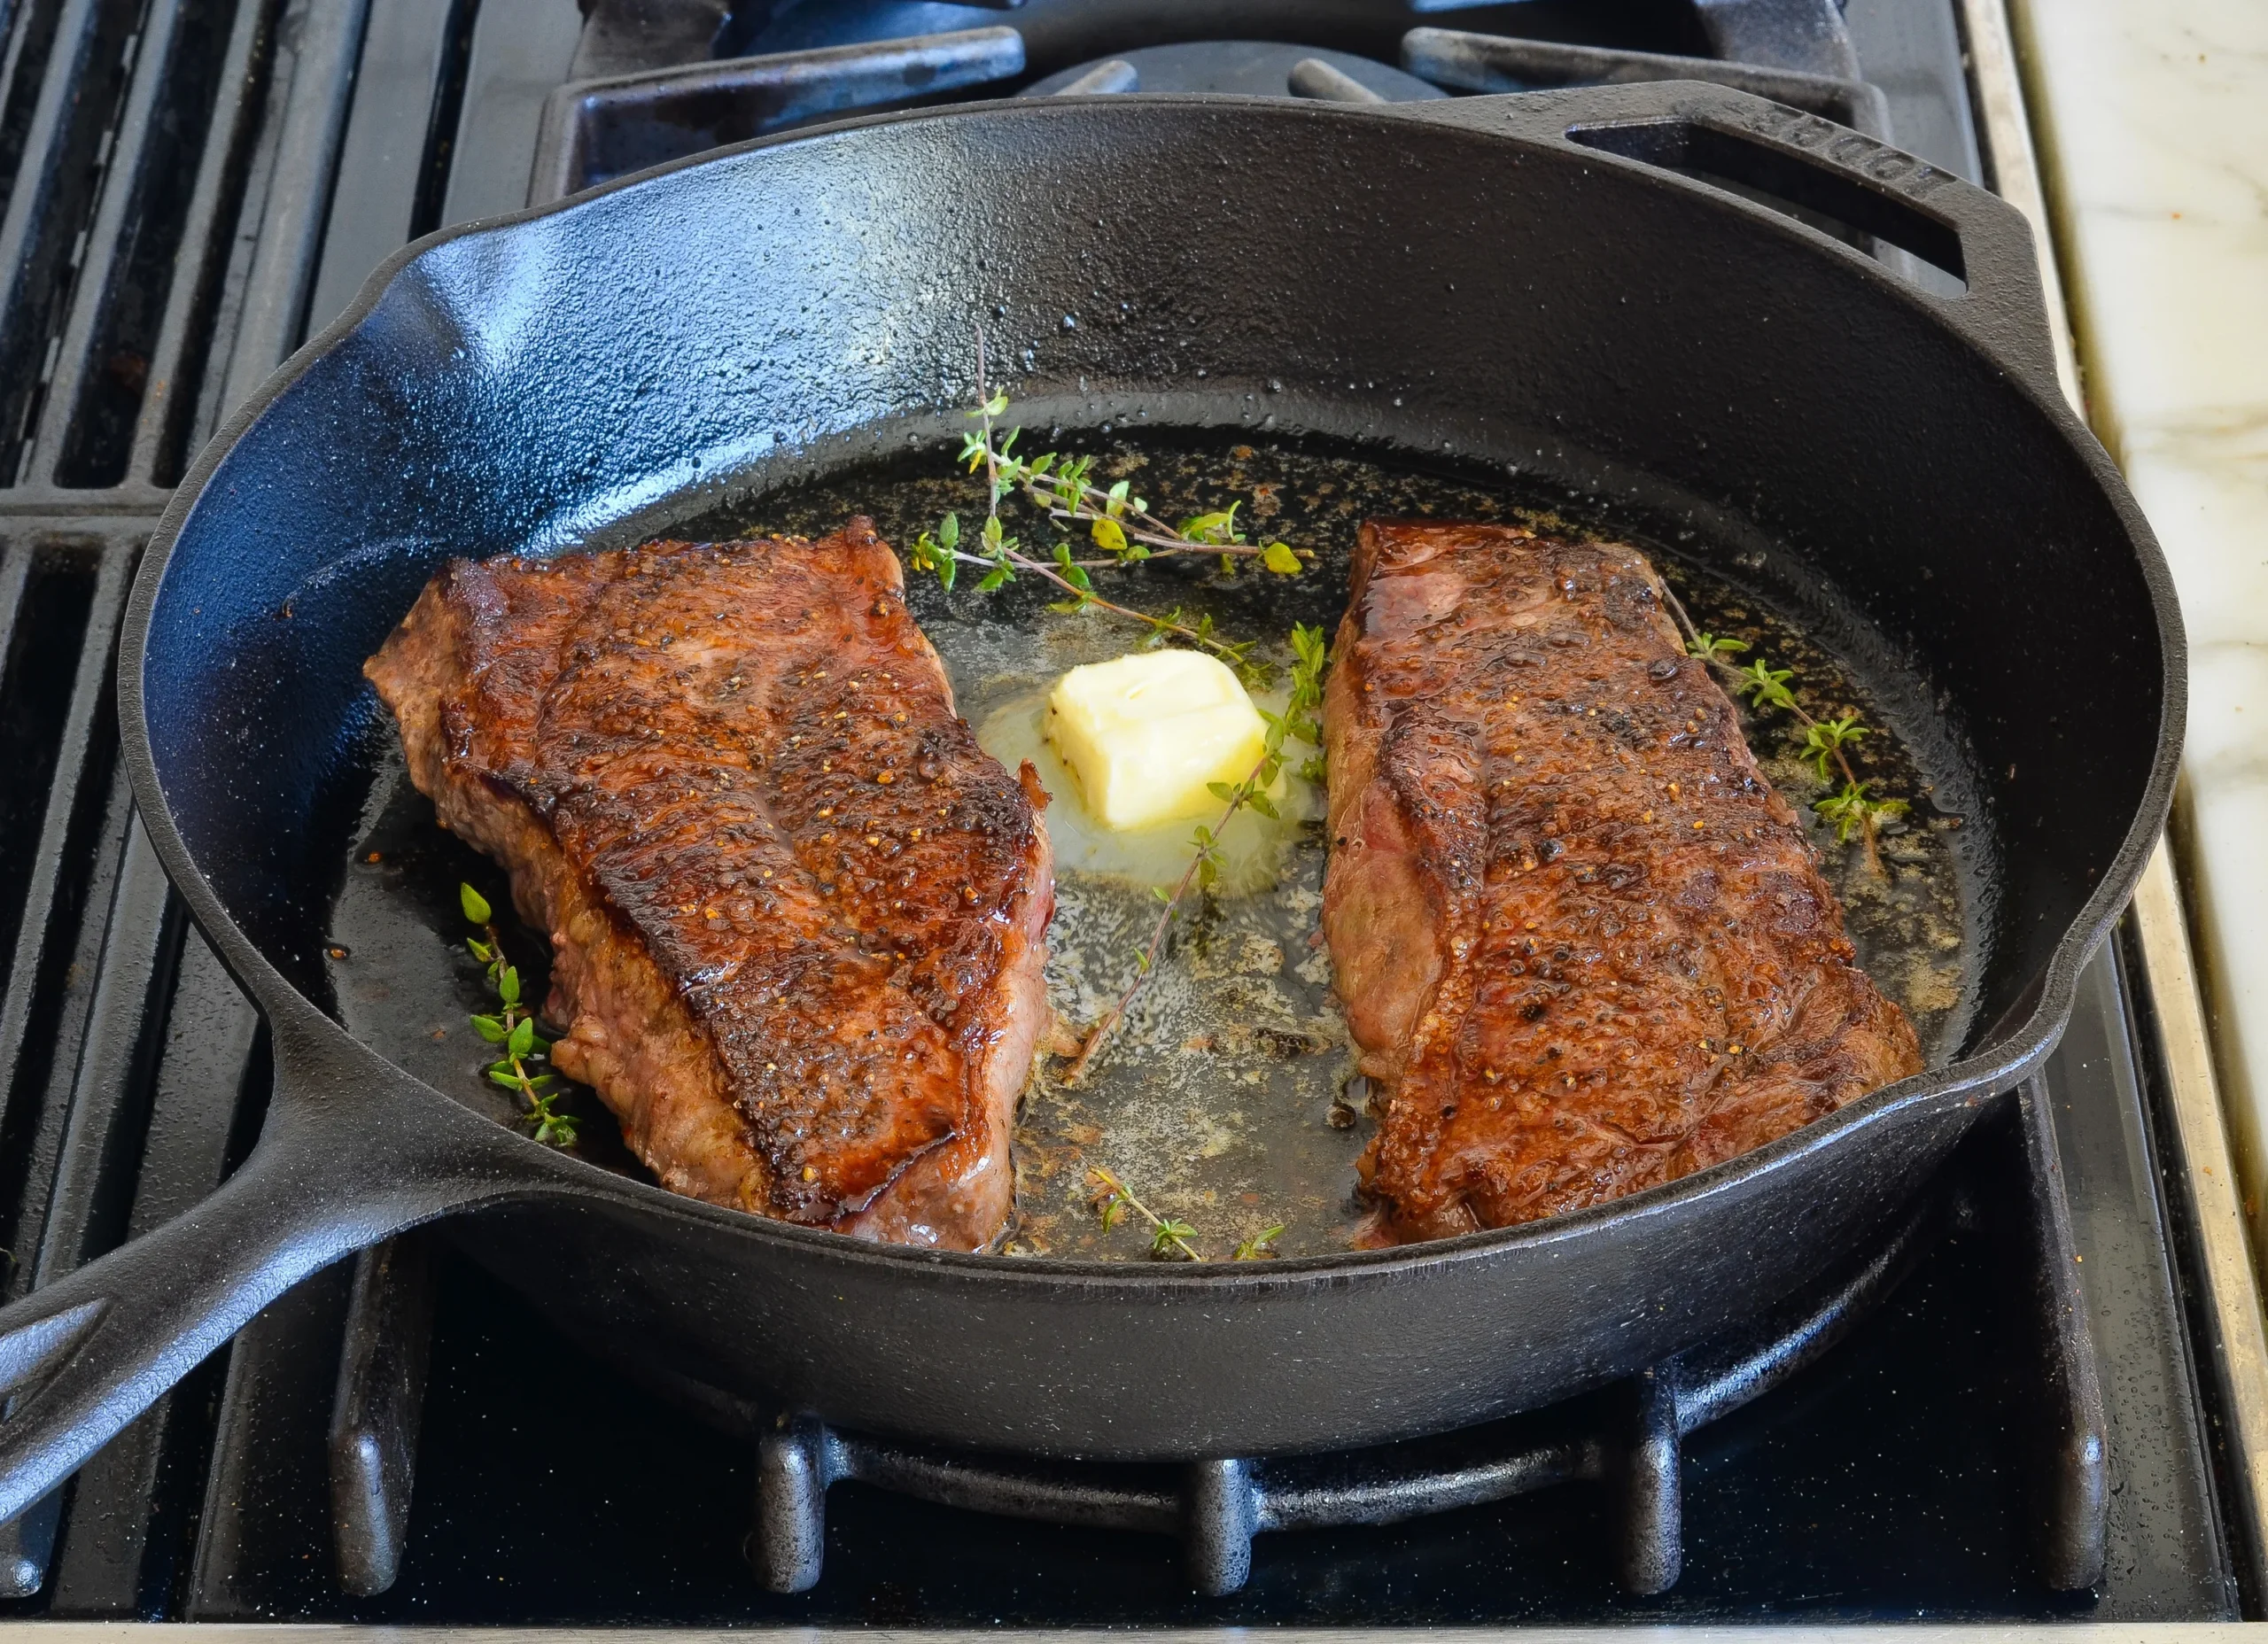
Before diving into the pan, it’s crucial to gather a few key items. A thick-bottomed skillet, preferably cast iron, is a must for even heat distribution. Sharp tongs will help you maneuver the steak without piercing the meat, which can cause valuable juices to escape. As for ingredients, select a good-quality steak — ribeye, strip, or filet mignon — and keep simple seasonings like kosher salt and freshly ground black pepper on hand. A high smoke point oil such as vegetable or canola oil completes the essentials. Having these tools ready makes the cooking process fluid and more enjoyable.
Preparing Your Steak
Choosing the Right Cut
When starting out, selecting the appropriate cut can significantly affect your outcome. Ribeye is a forgiving choice because of its marbling, which enhances flavor and tenderness during searing. Conversely, leaner cuts like sirloin require more attention to avoid overcooking. I once experimented with a thick New York strip; its thickness meant a slightly longer cook time but rewarded me with a juicy, flavorful center. Ultimately, understanding the characteristics of your cut lets you adjust cooking times and avoid surprises.
How to Properly Season Your Steak
Seasoning is more than sprinkling salt and pepper—it sets the foundation for taste. For best results, season your steak generously at least 40 minutes before cooking or right before it hits the pan. This allows salt to penetrate and enhances flavor depth. For example, I often salt my steaks early and leave them uncovered in the fridge; this dry brining method improves texture and moisture retention. Avoid overcomplicating with heavy marinades for pan-searing beginners, as they can interfere with crust development.
Mastering the Pan-Searing Process
Preheating Your Pan Correctly
Many novices make the mistake of adding the steak to an underheated pan. For an even, crispy crust, the pan must be smoking hot before contact. A quick test is to sprinkle a few drops of water onto the skillet; if they dance and evaporate immediately, your pan is ready. When I first learned this, my steaks always stuck and cooked unevenly until I mastered controlling heat. Remember, preheating sets the stage for the Maillard reaction, which creates that beautiful, flavorful crust.
Step-by-Step Cooking Instructions
Begin by patting your steak dry to remove any surface moisture that can hinder searing. Heat your pan with oil until shimmering, then carefully place the steak down without overcrowding. Resist the urge to move it; let it sear undisturbed for 3-4 minutes depending on thickness. Flip the steak using tongs, cooking the other side similarly. A friend recounted how frequently flipping steak led to uneven crusts—holding steady on one side is key. For thickness above one inch, finish the steak in a preheated oven or lower the heat and cook gently to desired doneness.
How to Achieve the Perfect Crust
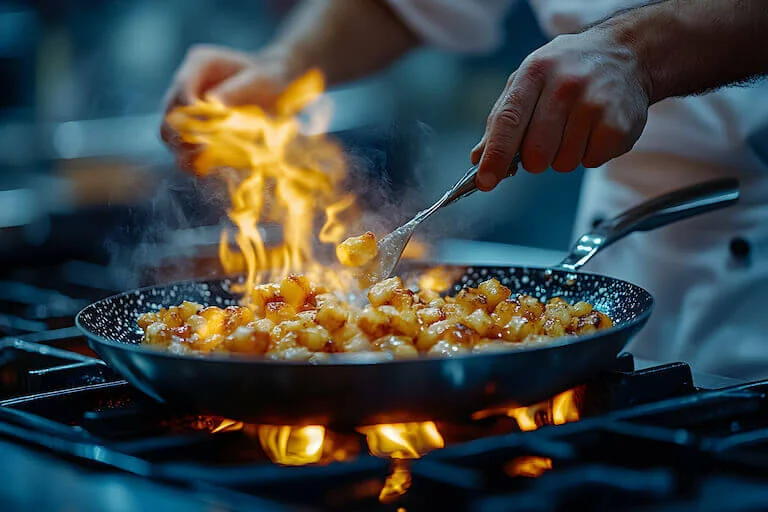
The crust is the hallmark of pan-searing excellence. Achieving it requires patience and attention. After the initial sear, lowering the heat slightly helps maintain a steady crust without burning. Some cooks sprinkle a little more salt mid-way to enhance the crust’s flavor. When I nailed the perfect crust the first time, it was a revelation—deep brown, aromatic, and pleasantly crisp while still tender inside. Avoid pressing down on the steak; this squeezes out juices and dulls the crust’s texture.
Post-Cooking Tips
Resting Your Steak for Maximum Juiciness
One of the most overlooked steps is resting the steak after cooking. Removing it from heat and letting it sit for five to ten minutes allows juices to redistribute evenly, preventing a dry bite. In a memorable dinner with friends, the contrast was palpable—steaks cut immediately were noticeably drier compared to those properly rested. Tent the steak loosely with foil while resting to retain warmth without steaming the crust.
Slicing and Serving Suggestions
How you slice your steak affects both texture and enjoyment. Always cut against the grain to shorten muscle fibers and maximize tenderness. For a thick steak, slicing into manageable pieces helps when serving a group. Pair your steak with simple sides like roasted vegetables or a fresh salad to balance richness. Presenting steak slices fanned out on a warm plate creates an inviting, professional touch. These little details elevate your meal beyond just the cooking technique.
Common Mistakes to Avoid
Overcrowding the Pan
One frequent pitfall is trying to cook multiple steaks simultaneously in a pan that’s too small. Overcrowding causes the meat to steam rather than sear, resulting in a pale, rubbery finish. Early in my cooking trials, I neglected this and ended up with disappointing steaks. It’s better to cook in batches or use a larger pan to give the steak room to breathe and develop that signature crust.
Underseasoning and Overcooking
Failing to season adequately leaves a bland steak, while overcooking kills tenderness. Beginners often err on the side of caution by cooking steak too long to ensure it’s “done,” unknowingly drying it out. Using an instant-read thermometer can prevent this; aiming for 130°F for medium-rare is a good target. Early on, I learned to trust temperature rather than timing, which gave me consistent juicy results.
Bonus: Enhancing Flavor with Simple Finishing Touches
Butter Basting Techniques
Once your steak is almost finished, adding butter to the pan and spooning it over the meat introduces richness and a glossy finish. This technique, called basting, infuses the steak with flavor and helps keep it moist. I recall a special occasion where this small step transformed a basic steak into a decadent meal. Use a spoon to continuously baste for 1-2 minutes, adding garlic or herbs to the butter if desired.
Using Herbs and Aromatics
Introducing fresh herbs like thyme or rosemary along with crushed garlic cloves into the pan during basting adds aromatic depth. The sizzling butter captures these flavors and imparts an earthy, fragrant note to the steak. It’s a simple, impactful way to elevate your dish without complicated sauces. Experimenting with these touches makes cooking more enjoyable and your steak memorable.